Basic image editing using OpenCV
Hello, I am learning to use the features that OpenCV offers for image processing and the following question arose:
How do I edit only a predetermined area of an image?
To facilitate the understanding of my doubt, I will use the function cv::cvtColor() and change an image from Color (RGB) to gray Scale (Gray Scale), but I would like the proposed solution to work with any other function. What I've achieved do:
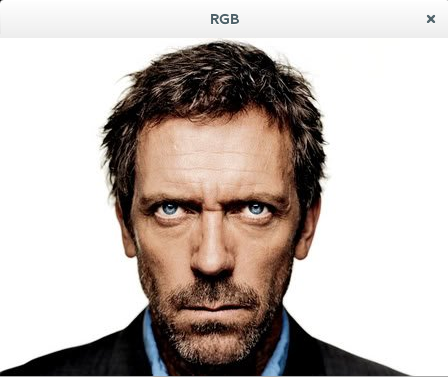
Load and display a disk image:
cv::Mat img = cv::imread("/home/anderson/Pictures/Outras/house.jpeg");
if (img.empty()) {
    std::cout << "Falha ao carregar o arquivo do disco!" << std::endl;
}

cv::namedWindow("RGB");
cv::imshow("RGB", img);
Select an area and turn to grayscale:
cv::Mat imgMod(img, cv::Rect(100,100,150,150));
cv::Mat imgModOut;
cv::cvtColor(imgMod, imgModOut, CV_BGR2GRAY);

cv::namedWindow("Gray");
cv::imshow("Gray", imgModOut);
So far everything is right, but How do I combine the gray crop with the original image and create a new partially gray image (cropped area)?
1 answers
What you are looking for can be achieved by setting a ROI (Region of Interest - region of interest) in the original image.
An ROI specifies an area of interest within an image and allows you to extract this subregion to a new cv::Mat, or insert another image within it. It is exactly these procedures that the following code demonstrates to accomplish the effect you seek:
// Carregar a imagem de teste a partir do disco.
cv::Mat input = cv::imread("house.png");
if (input.empty())
{
    std::cout << "!!! imread(): arquivo não encontrado" << std::endl;
    return -1;
}

// Especificar a localização da ROI, assumindo que:
// x,y = (190,230)
// largura, altura = (260, 60)
cv::Rect roi = cv::Rect(190, 230, 260, 60);

// Criar uma nova imagem a partir da ROI setada na imagem original:
cv::Mat sub_img = input(roi);
//cv::imwrite("house_roi.png", sub_img);
Right now, sub_img stores:
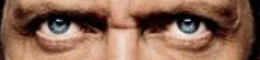
// Converter a subárea para tons de cinza.
cv::Mat gray;
cv::cvtColor(sub_img, gray, CV_BGR2GRAY);
//cv::imwrite("house_gray.png", gray);
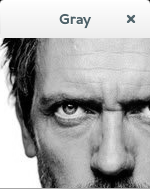
Gray stores:
It is important to note that this conversion from Color Image to grayscale creates a new image with only 1 color channel. Therefore, it is essential to create a new cv::Mat with 3 color channels before copying the subimage into the original image (which has 3 channels); otherwise, OpenCV will complain that the channel numbers of the images are different.
// Converter subárea de 1 canal de cor para 3 canais. Esta operação não afeta os pixels da imagem.
cv::Mat tmp;
cv::cvtColor(gray, tmp, CV_GRAY2BGR);
//cv::imwrite("house_tmp.png", tmp);

// Copiar a subimagem para dentro da imagem original, na localização especificada pela ROI.
tmp.copyTo(input(roi));
//cv::imwrite("house_result.png", input);
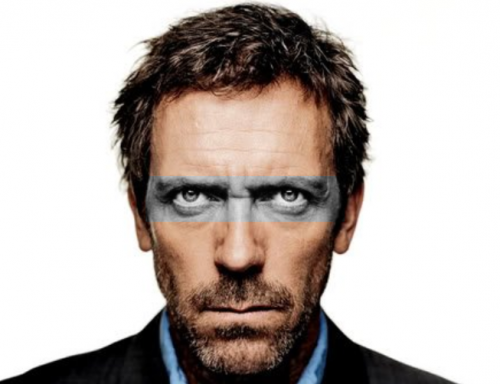
When copyTo() is executed, the pixels of tmp are inserted into the original image, obeying the subarea specified by roi.
At the end of this process, input stores: